 Save
Save The first time I attempted a coconut cake with seven-minute frosting, I stood over that double boiler whisking what felt like forever, my arm aching, convinced Id done something wrong when the mixture refused to thicken. Five minutes in, I almost abandoned ship. But somewhere between minute six and seven, the transformation happened—suddenly glossy peaks formed like kitchen magic, and I understood why grandmothers recipes warned us about patience.
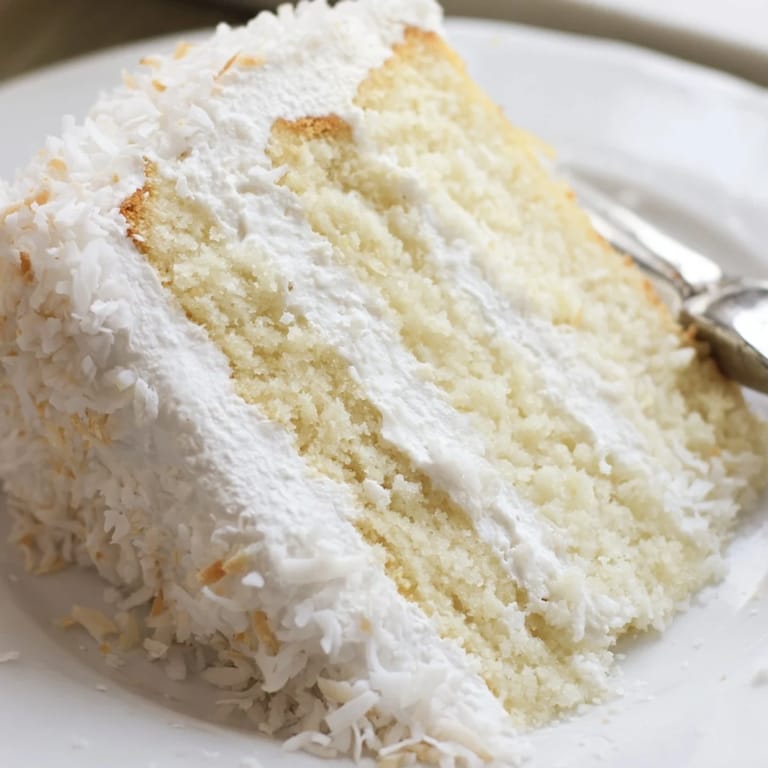
I made this cake for my sisters birthday last spring, and watching her eyes light up when she saw the drifts of coconut clinging to the sides reminded me why celebration cakes matter. The frosting billowed like clouds, and when we sliced into it, the coconut filling spilled out just slightly—this glorious, messy moment that felt like pure happiness on a plate.
Ingredients
- Cake flour: Lower protein content keeps the cake tender and delicate, essential for that classic birthday cake crumb
- Unsalted butter at room temperature: Cannot be rushed—cold butter creates pockets of flour and uneven texture
- Egg whites: Create the pristine white crumb and contribute structure without affecting the flavor profile
- Coconut milk in the filling: Adds depth and richness that pairs beautifully with the shredded coconut texture
- Cream of tartar: The secret stabilizer that makes seven-minute frosting actually work—do not skip or substitute
Tired of Takeout? 🥡
Get 10 meals you can make faster than delivery arrives. Seriously.
One email. No spam. Unsubscribe anytime.
Instructions
- Getting everything ready:
- Preheat your oven to 350°F and prepare three 8-inch round pans with grease and flour, knocking out any excess. Wh together the cake flour, baking powder, and salt in a medium bowl.
- Making the batter base:
- Cream your room temperature butter and sugar until the mixture turns pale and fluffy, about 3 full minutes. This step creates air pockets that make the cake light.
- Adding eggs and flavor:
- Beat in the egg whites one at a time, letting each fully incorporate before adding the next. Stir in the vanilla until fragrant.
- The alternating method:
- Add the flour mixture and milk in alternating batches, starting and ending with the dry ingredients. Mix until just combined—overworking creates tough cake.
- Baking to perfection:
- Divide the batter evenly among your prepared pans and bake for 25 to 30 minutes. A toothpick inserted in the center should emerge clean, and the layers should pull slightly from the pan edges.
- Cooling properly:
- Let the cakes rest in their pans for exactly 10 minutes before turning them onto wire racks. Attempt to frost warm cake and you will regret every life choice.
- Preparing the coconut filling:
- Combine coconut milk and sugar in a small saucepan, bringing to a simmer while stirring until sugar dissolves completely. Remove from heat and stir in the shredded coconut, then cool until thick and spreadable.
- The seven-minute miracle frosting:
- Set a heatproof bowl over simmering water, never letting the bowl touch the water. Whisk egg whites, sugar, water, and cream of tartar constantly, beating with a hand mixer until glossy stiff peaks form in exactly seven minutes.
- Finishing the frosting:
- Remove from heat, add vanilla, and beat for 2 more minutes to cool slightly and stabilize those beautiful peaks you worked so hard to achieve.
- Assembly time:
- Place your first cake layer on a serving plate and spread half the coconut filling over the top. Add the second layer, spread remaining filling, then place the third layer on top.
- Frosting and decorating:
- Cover the entire cake with that billowy seven-minute frosting, working quickly before it sets. Press handfuls of shredded coconut onto the sides and top for that signature finish.
- Setting the cake:
- Let everything settle for at least 30 minutes before slicing—this allows flavors to meld and the frosting to firm up slightly.
 Save
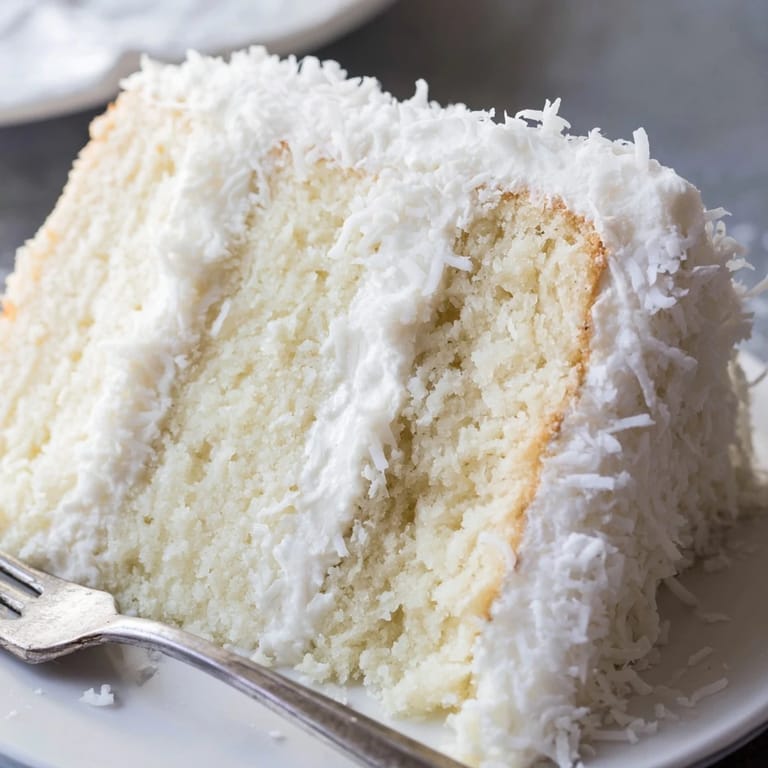
Save After serving this cake at a summer gathering, my friend confessed she had never liked coconut anything until that moment. Watching someone rediscover an ingredient through a well-executed dessert—that is the kind of kitchen memory that sticks with you.
Making Ahead
The cake layers can be baked, cooled completely, and wrapped tightly in plastic wrap up to 24 hours in advance. Store at room temperature. The coconut filling can also be made a day ahead and kept refrigerated, but bring it to room temperature before spreading for easier handling.
Frosting Timing
Seven-minute frosting does not hold well overnight—it starts to weep and lose that gorgeous glossy texture. Plan to make and apply the frosting the same day you plan to serve the cake. If you must work ahead, frost the cake with the coconut filling between layers and do the final frosting decoration within a few hours of serving.
Serving Suggestions
This coconut cake shines brightest at room temperature when all the flavors can fully express themselves. The frosting becomes softer and more luscious, and the coconut filling tastes sweeter and more aromatic.
- Use a serrated knife dipped in hot water for clean slices that show off those beautiful layers
- Pair with dry sparkling wine or freshly brewed black tea to cut through the sweetness
- Toast some of the decorating coconut for golden brown color variation and extra crunch
 Save
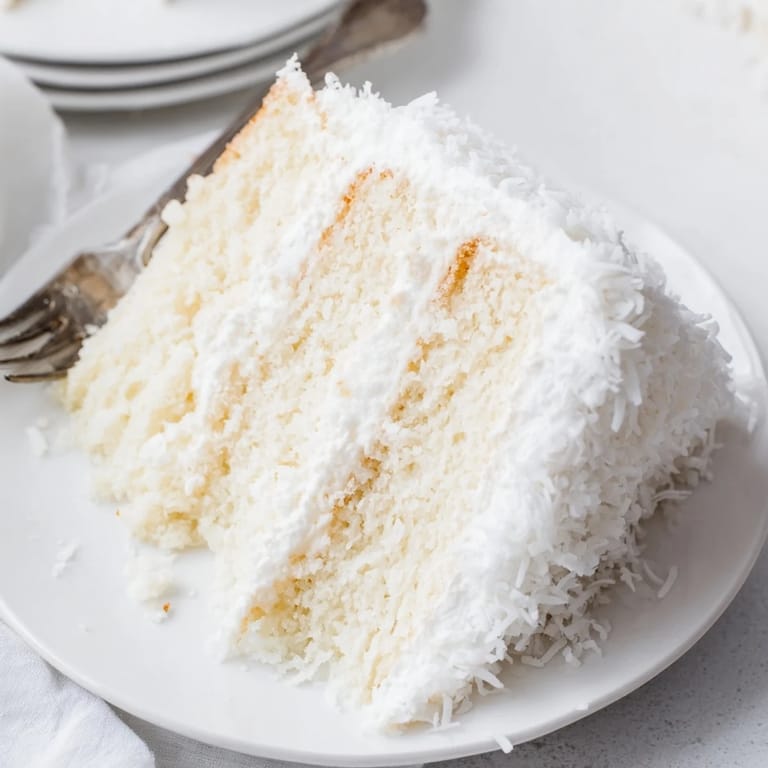
Save There is something deeply satisfying about a cake that requires this much hands-on attention and patience. The effort shows in every bite, and honestly, that is what makes it worth it.
Recipe FAQs
- → What makes seven-minute frosting different from buttercream?
Seven-minute frosting is a cooked meringue made by heating egg whites, sugar, water, and cream of tartar over simmering water while beating. This creates a glossy, marshmallow-like texture that's lighter and airier than traditional buttercream. It doesn't crust over and remains soft and pillowy, though it's best served the same day it's made as humidity can affect its stability.
- → Can I make the cake layers in advance?
Absolutely. Bake and cool the cake layers completely, then wrap each layer individually in plastic wrap and store at room temperature for up to 24 hours. For longer storage, freeze the wrapped layers for up to 3 months. Thaw frozen layers at room temperature before assembling. The coconut filling can also be made a day ahead and stored refrigerated; bring to room temperature before spreading for easier application.
- → Why use cake flour instead of all-purpose flour?
Cake flour has lower protein content (about 8%) compared to all-purpose flour (10-12%), resulting in a more tender, delicate crumb. Its fine texture and lower gluten development creates that classic light, velvety cake texture. If you don't have cake flour, you can make a substitute by measuring 1 cup all-purpose flour and removing 2 tablespoons, then replacing with 2 tablespoons cornstarch.
- → How do I toast coconut for decoration?
Spread shredded coconut in an even layer on a baking sheet and bake at 350°F (175°C) for 5-10 minutes, stirring every 2-3 minutes to ensure even browning. Watch closely as coconut can go from golden to burnt quickly. Once toasted to your desired color, immediately transfer to a cool plate or pan to stop the cooking process. Toasted coconut adds wonderful crunch and a deeper, nuttier flavor dimension.
- → What's the best way to assemble this coconut cake?
Start with a completely cooled cake layer on your serving plate or turntable. Spread half the coconut filling almost to the edges, leaving a slight border. Place the second layer on top and repeat with remaining filling. Add the final cake layer upside down (the flattest side facing up) for a level top. Apply a thin crumb coat of frosting, chill 15 minutes, then finish with the remaining frosting. Finally, press coconut onto the sides and top immediately while the frosting is still soft.
- → Can I substitute the coconut milk in the filling?
While coconut milk provides authentic flavor and creamy consistency, you could use half-and-half or heavy cream diluted with a bit of water. However, this will reduce the coconut intensity. For a dairy-free version, use full-fat canned coconut milk. The filling consistency should be thick enough to stay in place between layers—if it's too thin, simmer longer to reduce, or too thick, add small amounts of liquid until spreadable.