Save
Save My friend texted me at midnight asking if I could bake something special for her graduation party, mentioning casually that she was also turning another year older as a Taurus. Standing in my kitchen at that hour, staring at an empty counter, I realized I wanted to create something that felt like a celebration wrapped in buttercream—layered, thoughtful, and unapologetically elegant. This vanilla cake emerged from that late-night brainstorm, becoming the kind of dessert that makes people pause mid-conversation to ask for the recipe. What started as a midnight challenge turned into my favorite go-to cake for milestones that matter.
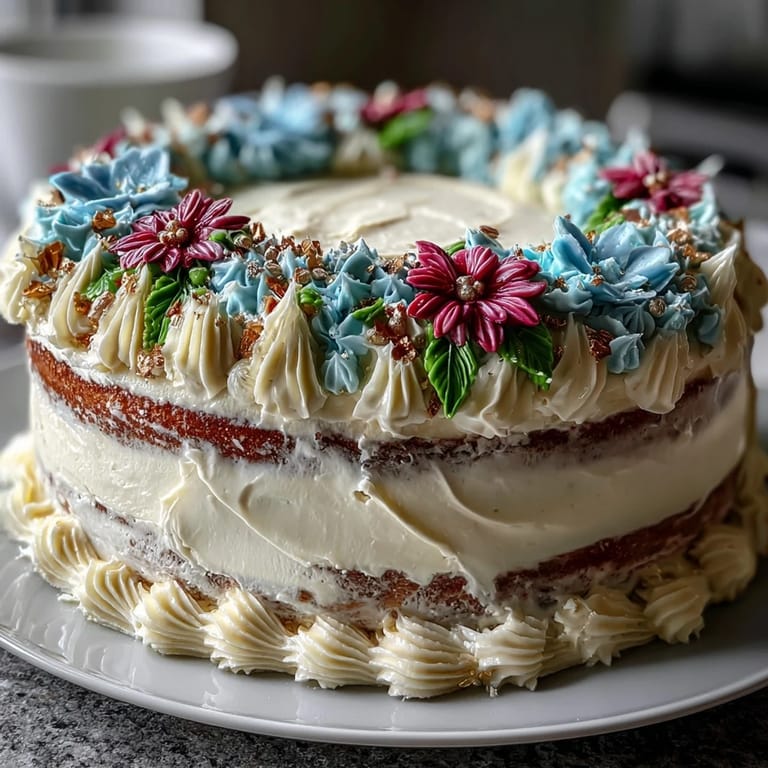
The first time I made this for an actual celebration, I remember my hands shaking slightly as I held the piping bag—not from nervousness about baking, but because I was decorating something that honored someone's achievement and birthday at the same time. Watching people's faces light up when they saw those delicate piped flowers and the gold leaf accents made every minute of prep work feel worthwhile. That's when I knew this wasn't just a cake recipe, it was a memory maker.
Ingredients
- All-purpose flour (2 1/2 cups): The foundation of your tender crumb—sifting it isn't strictly necessary but does help incorporate air.
- Baking powder (2 1/2 tsp): Your leavening agent that keeps the cake light and pillowy without relying on whipped eggs alone.
- Salt (1/2 tsp): A small amount that amplifies the vanilla flavor and balances sweetness beautifully.
- Unsalted butter, softened (1 cup for cake): The soul of the cake—make sure it's truly soft to the touch so it creams properly with sugar.
- Granulated sugar (2 cups): Creates the light fluffy crumb when beaten with butter, so don't skip this creaming step.
- Large eggs, room temperature (4): Room temperature eggs emulsify smoothly with the butter mixture, creating a more stable batter.
- Pure vanilla extract (1 tbsp plus 2 tsp): The unsung hero that ties everything together—never use imitation for this cake.
- Whole milk, room temperature (1 cup): Alternating with flour keeps the batter tender and prevents overdeveloping gluten.
- Unsalted butter for frosting (1 1/2 cups): Makes the buttercream silky and spreadable without the graininess of salted butter.
- Powdered sugar, sifted (5 cups): Sifting removes lumps that would ruin your smooth frosting texture.
- Heavy cream or milk (2-4 tbsp): Adjusts the consistency so your piping buttercream holds shape but still flows from the bag.
- Gel food coloring in floral shades: Gel coloring doesn't thin out the buttercream like liquid coloring does, crucial for piping stability.
- Edible gold leaf or sprinkles (optional): A finishing touch that catches light and celebrates the Taurus and graduation themes.
Tired of Takeout? 🥡
Get 10 meals you can make faster than delivery arrives. Seriously.
One email. No spam. Unsubscribe anytime.
Instructions
- Prepare your workspace:
- Preheat your oven to 350°F and get those three 8-inch pans ready with parchment paper—this setup takes just a few minutes but prevents disasters later. Having everything within arm's reach (mise en place, as chefs say) makes the mixing process feel smooth and confident.
- Combine your dry ingredients:
- Whisk together flour, baking powder, and salt in a bowl, making sure there are no hidden lumps of baking powder hiding at the bottom. This step ensures even rise across all three cake layers.
- Cream butter and sugar into fluffy clouds:
- Beat them together for 3-4 minutes until the mixture looks pale and airy—this is where the cake's tender crumb begins. You'll notice the mixture transforms from grainy to cloud-like, which means air pockets are forming.
- Add eggs one at a time:
- Drop each egg in individually and beat well after each addition, letting the mixer fully incorporate before the next egg goes in. This patience creates a stable, emulsified base.
- Mix in vanilla extract:
- A single tablespoon goes a long way, and beating it in for a few seconds ensures even distribution throughout the batter.
- Alternate flour and milk in three batches:
- Start with flour, then milk, then flour, ending with flour—this technique prevents the batter from becoming overly wet or tough. Mix on low speed just until combined; overmixing develops gluten and creates a dense cake.
- Divide and bake:
- Pour batter evenly among the three pans and smooth the tops with an offset spatula, then bake for 28-35 minutes until a toothpick comes out clean. The timing varies slightly by oven, so start checking around 28 minutes.
- Cool with patience:
- Let cakes rest in pans for 10 minutes before turning them onto wire racks to cool completely—this prevents cracking and sticking. Completely cooled layers are essential for frosting.
- Beat buttercream to fluffy perfection:
- Cream the softened butter on medium speed until it's light and pale, then gradually add sifted powdered sugar while beating continuously. The gradual addition prevents lumps and incorporates air for a light texture.
- Add vanilla and adjust consistency:
- Mix in vanilla and start with 2 tablespoons of cream, adding more as needed until the frosting reaches spreadable consistency. Beat for another 3-4 minutes until it's fluffy and holds peaks slightly.
- Tint your buttercream:
- Divide frosting into bowls and add gel coloring drop by drop, mixing thoroughly until you reach soft garden-inspired shades. These colors are for piping delicate flowers, so softer hues photograph beautifully.
- Level and layer your cake:
- If cake layers aren't flat, use a serrated knife to gently level the tops, then place the first layer on a cake board or plate. Spread a generous layer of white buttercream on top, then repeat with the second layer and frosting.
- Apply the crumb coat:
- Cover the entire assembled cake with a thin layer of buttercream, which traps crumbs and creates a smooth base for the final coat. Chill this in the refrigerator for 20 minutes.
- Add the final frosting layer:
- Apply a smooth, generous layer of buttercream over the crumb coat using an offset spatula, turning the cake turntable as you go. This is where the cake starts looking polished and professional.
- Pipe your floral designs:
- Using your colored buttercream and petal tips, pipe delicate flowers, leaves, and vines across the cake in a balanced pattern. Take your time and remember that slight imperfections add character and charm.
- Add finishing touches:
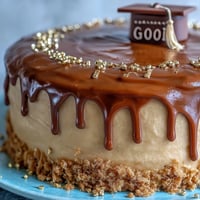
- Scatter edible gold leaf or gold sprinkles to honor the Taurus symbol and graduation achievement, creating visual interest at key spots. These accents catch light and make the cake feel celebratory.
- Chill and serve:
- Refrigerate the finished cake until serving time, then bring it to room temperature for 20 minutes before slicing so flavors shine through. Cold cake can taste muted, so patience here makes a real difference.
 Save
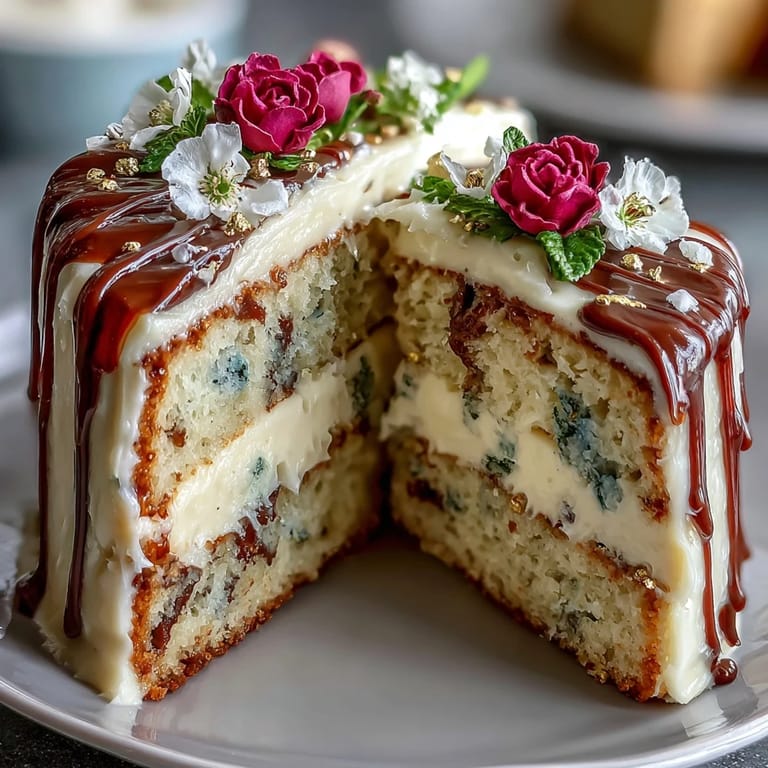
Save There's a particular joy in watching someone taste a cake you decorated with intention—watching them notice the piped flowers before tasting it, then realizing it's not just pretty but genuinely delicious. That moment when appearance and flavor collide makes all the piping, coloring, and chilling worthwhile.
The Magic of Vanilla Done Right
Vanilla isn't just a background flavor here—it's the stage on which everything else performs. The quality of your vanilla extract matters more than you'd think because it's the primary flavor note that ties the cake and buttercream together. Pure vanilla extract has a warmth and complexity that makes people wonder what the secret ingredient is, even though it's sitting right there in the ingredient list. I learned this lesson the hard way when I once substituted vanilla for cost reasons and the entire cake tasted flat, missing that subtle elegance that makes people ask for seconds.
Piping Like You Know What You're Doing
The buttercream piping feels intimidating until you realize that flowers in nature aren't perfect either—they lean, they twist, some petals overlap while others stand proud. This cake celebrates that imperfection, which means your piping doesn't need to look like a bakery showroom to be stunning. Start with simple shapes like roses using a petal tip, then add leaves with a leaf tip, letting the colors do the visual work. The gel coloring makes this easier because the colors stay vibrant and true, which is why I'll never go back to liquid food coloring for piped work.
Making It Yours
This cake is a foundation waiting for your personal touch, and that's intentional. Your friend's favorite colors become the piping shades, her school colors might influence the flower palette, and the gold leaf can be replaced with edible silver for different aesthetic vibes. I've made variations with almond extract added to the batter for depth, and once piped buttercream flowers directly onto parchment and transferred them after chilling for more intricate designs. Consider what makes the celebration special and let that guide your decorating choices.
- Add 1 teaspoon almond extract to the cake batter for subtle nutty complexity that complements vanilla.
- Pipe buttercream flowers onto parchment ahead of time and chill them solid, then transfer to the frosted cake for more controlled, precise designs.
- Match your flower colors to the graduate's school colors or the Taurus birth month flowers (April hawthorn, May lily of the valley) for hidden layers of meaning.
 Save
Save This cake celebrates someone's growth and achievement in the most delicious way possible. Bake it with care, decorate it with joy, and watch it become the moment people remember long after the last crumb is gone.
Recipe FAQs
- → How do I achieve vibrant floral colors in the buttercream?
Use gel-based food coloring for concentrated hues without altering frosting consistency. Add color gradually to reach desired shades.
- → What is the best way to pipe detailed floral designs?
Use assorted piping tips like petal, leaf, and round shapes. Practice on parchment before decorating the cake to master technique.
- → Can I prepare the cake layers ahead of time?
Yes, bake layers a day prior and wrap tightly. Chill to maintain freshness before assembling and decorating.
- → How should I store the decorated cake?
Keep the cake chilled until serving to preserve buttercream shape. Bring to room temperature 30 minutes before slicing for best flavor.
- → What alternatives exist for the gold leaf decoration?
Edible gold sprinkles or shimmering dust provide a similar elegant accent for symbolic highlights.
- → Is it possible to customize the floral colors?
Yes, adjust gel colors to match birth month or school theme for a personalized touch.